

Fall is one of the best times of year to spend long hours behind your optics. As temperatures cool and deer become more active, hunters often find themselves glassing large expanses of timber, brush, open slopes and transition zones in search of an animal that may only be visible for a few seconds at first light or sunset.
A deer can stand in plain sight and still be incredibly difficult to spot. Changing foliage, uneven terrain, small shrubs and natural depressions can all create blind spots that make an animal disappear.
A systematic glassing strategy can help you cover more country, avoid repeatedly searching the same areas and recognize animals that might otherwise be overlooked. It’s all about perspective and how to use the power of optics to cover ground so your boots don’t have to.
Start With the Tree Line
Tree lines and timber edges are some of the most productive areas to glass, but they can also be some of the most difficult.
Instead of simply sweeping your optics across the edge of the timber, break the area into sections. Look for places where open ground meets cover, especially areas that provide shade, security or easy access between feeding and bedding areas. Pay close attention to the edge itself and natural entry points or game trails leading into the timber.
Deer don't always stand completely in the open. You may see an ear, horizontal back, antler tine or the distinct shape of a leg before you see the entire animal. When scanning a tree line, try working from one end to the other rather than jumping randomly between interesting spots. Move slowly enough that your eyes have time to process what they're seeing.
It's also important to vary your perspective. A deer hidden behind brush from one glassing position may become completely visible after moving only a few yards or changing your elevation.

Don't Underestimate Foliage Height
One of the biggest challenges of fall glassing is understanding how the terrain looks from your perspective.
A patch of brush that appears insignificant when viewed from above can completely conceal a deer when you're looking across the hillside. The same is true for grass, sagebrush, fallen timber and other vegetation.
Consider the difference between looking across a slope and looking down onto it. When your line of sight is relatively level with the hillside, even relatively short vegetation can hide an animal. This is why it's important to pay attention to what is between you and the area you're glassing, not just the terrain itself.
If you're looking across a basin, for example, don't assume that every visible patch of ground is actually visible at animal level. Small rises and depressions can create hidden pockets where deer can move, bed or feed without ever appearing in your optics. This is especially true in clearcuts that may have logging slash covering the ground. It may look wide open, but it is actually a tangle of branches that can easily conceal an animal.
Look for Natural Depressions
Hillsides are rarely smooth. Small draws, folds, benches, drainage channels and depressions can create surprisingly effective hiding places. A deer standing just a few feet below your line of sight can completely disappear behind a small rise in the terrain.
When glassing an open hillside, mentally break the slope into its natural contours. Don't just scan from left to right. Ask yourself:
“What parts of this hillside can't I actually see?”
Those areas deserve additional attention.
If possible, change your position to alter your viewing angle. Moving higher may allow you to see into depressions that were previously hidden. Moving lower or farther to the side can sometimes expose the opposite side of a fold in the terrain. Be sure to pay special attention to any continuous horizontal lines you may see on a hillside, this could indicate a well-worn game trail that deer use frequently.

Use a Grid to Cover Open Country
When you're looking at hundreds of acres of open country, randomly moving your optics around can make it easy to miss animals or repeatedly check the same areas. A more systematic approach could be using a grid system.
Start at one side of the area and slowly work across it from left to right. Once you've reached the opposite side, move your field of view slightly higher or lower and work back in the opposite direction.
Think of it as mowing a lawn with your optics. Row by row. Section by section. The key is overlapping. Don't leave gaps between the areas you're searching.
Break Large Areas into Smaller Sections
For extremely large basins or mountainsides, divide the landscape into recognizable sections. Finish one section before moving to the next. This makes it easier to remember what you've already searched and helps prevent the natural tendency to spend too much time looking at the most interesting terrain.
Try the “Near, Middle, Far” Method
Another useful technique is to divide the landscape by distance. Start by searching the terrain closest to you. Once you've systematically covered it, move to the middle distance and then the farthest terrain.
This can help prevent your eyes from constantly jumping between objects at different distances. It's especially useful when glassing complex terrain where foreground brush can obscure portions of the hillside behind it. Keep this technique in mind when approaching a new glassing area as you approach from a road or emerge from the timber. Remember that animals can be close but just over the next ridge, so approach quietly and always act as if there is an animal right on the other side of the hill.
Use Landmarks as Reference Points
When searching a large area, identify fixed landmarks that you can use as reference points.
A distinctive tree, rock formation, ridge point, fence line or drainage can divide the landscape into manageable sections. This becomes even more useful when you're hunting with a partner. You can communicate exactly which portion of the landscape has already been searched. Those same landmarks can be used as reference points when pointing out animal positions, this is especially useful when one person is the shooter and the other is spotting for them.

Use Digiscoping to Document What You Find
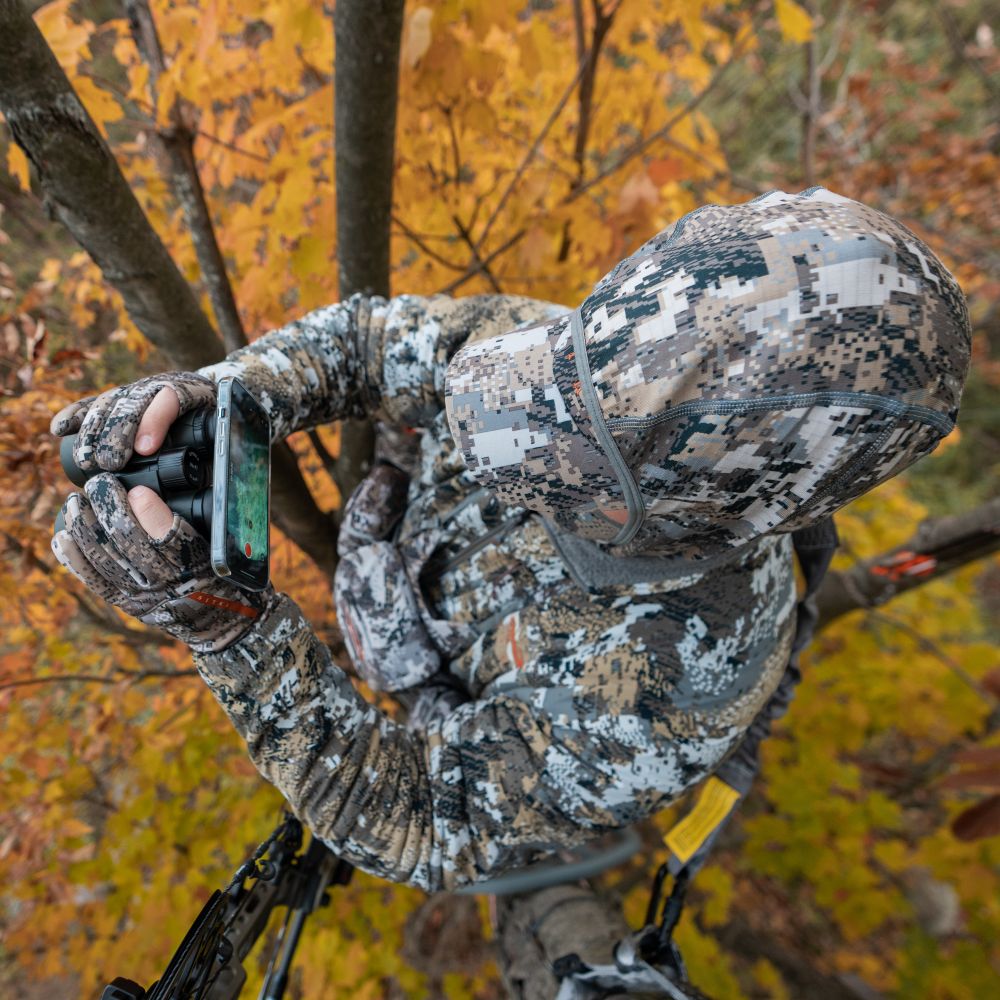
One of the advantages of digiscoping during a hunt is that it gives you a way to document what you're seeing through your optics.
When you're glassing a large area systematically, you can use your phone to capture images or video of animals, terrain and specific locations that you may want to reference later.
A digiscoped image can provide a visual reference for:
- Where an animal was last seen
- Which drainage or ridge it was using
- Nearby landmarks
- Terrain features that may be difficult to remember
- Animal movement and behavior
- Details that weren't obvious at first glance
This can be particularly useful when an animal disappears into cover or when tracking an animal after a shot. Many hunters have been in a situation where they struggle to find the exact spot an animal was when they took a shot from hundreds of yards away. The terrain has a way of deceiving your eyes from a different perspective. Taking a photo using a MAGVIEW® phone adapter gives a quick reference to notable landmarks which can help you dial in the exact position the animal was at.
MAGVIEW Makes Digiscoping Part of the Glassing Process
The key to useful digiscoping in the field is keeping it simple. You don't want capturing a photo to become a distraction from actually glassing.
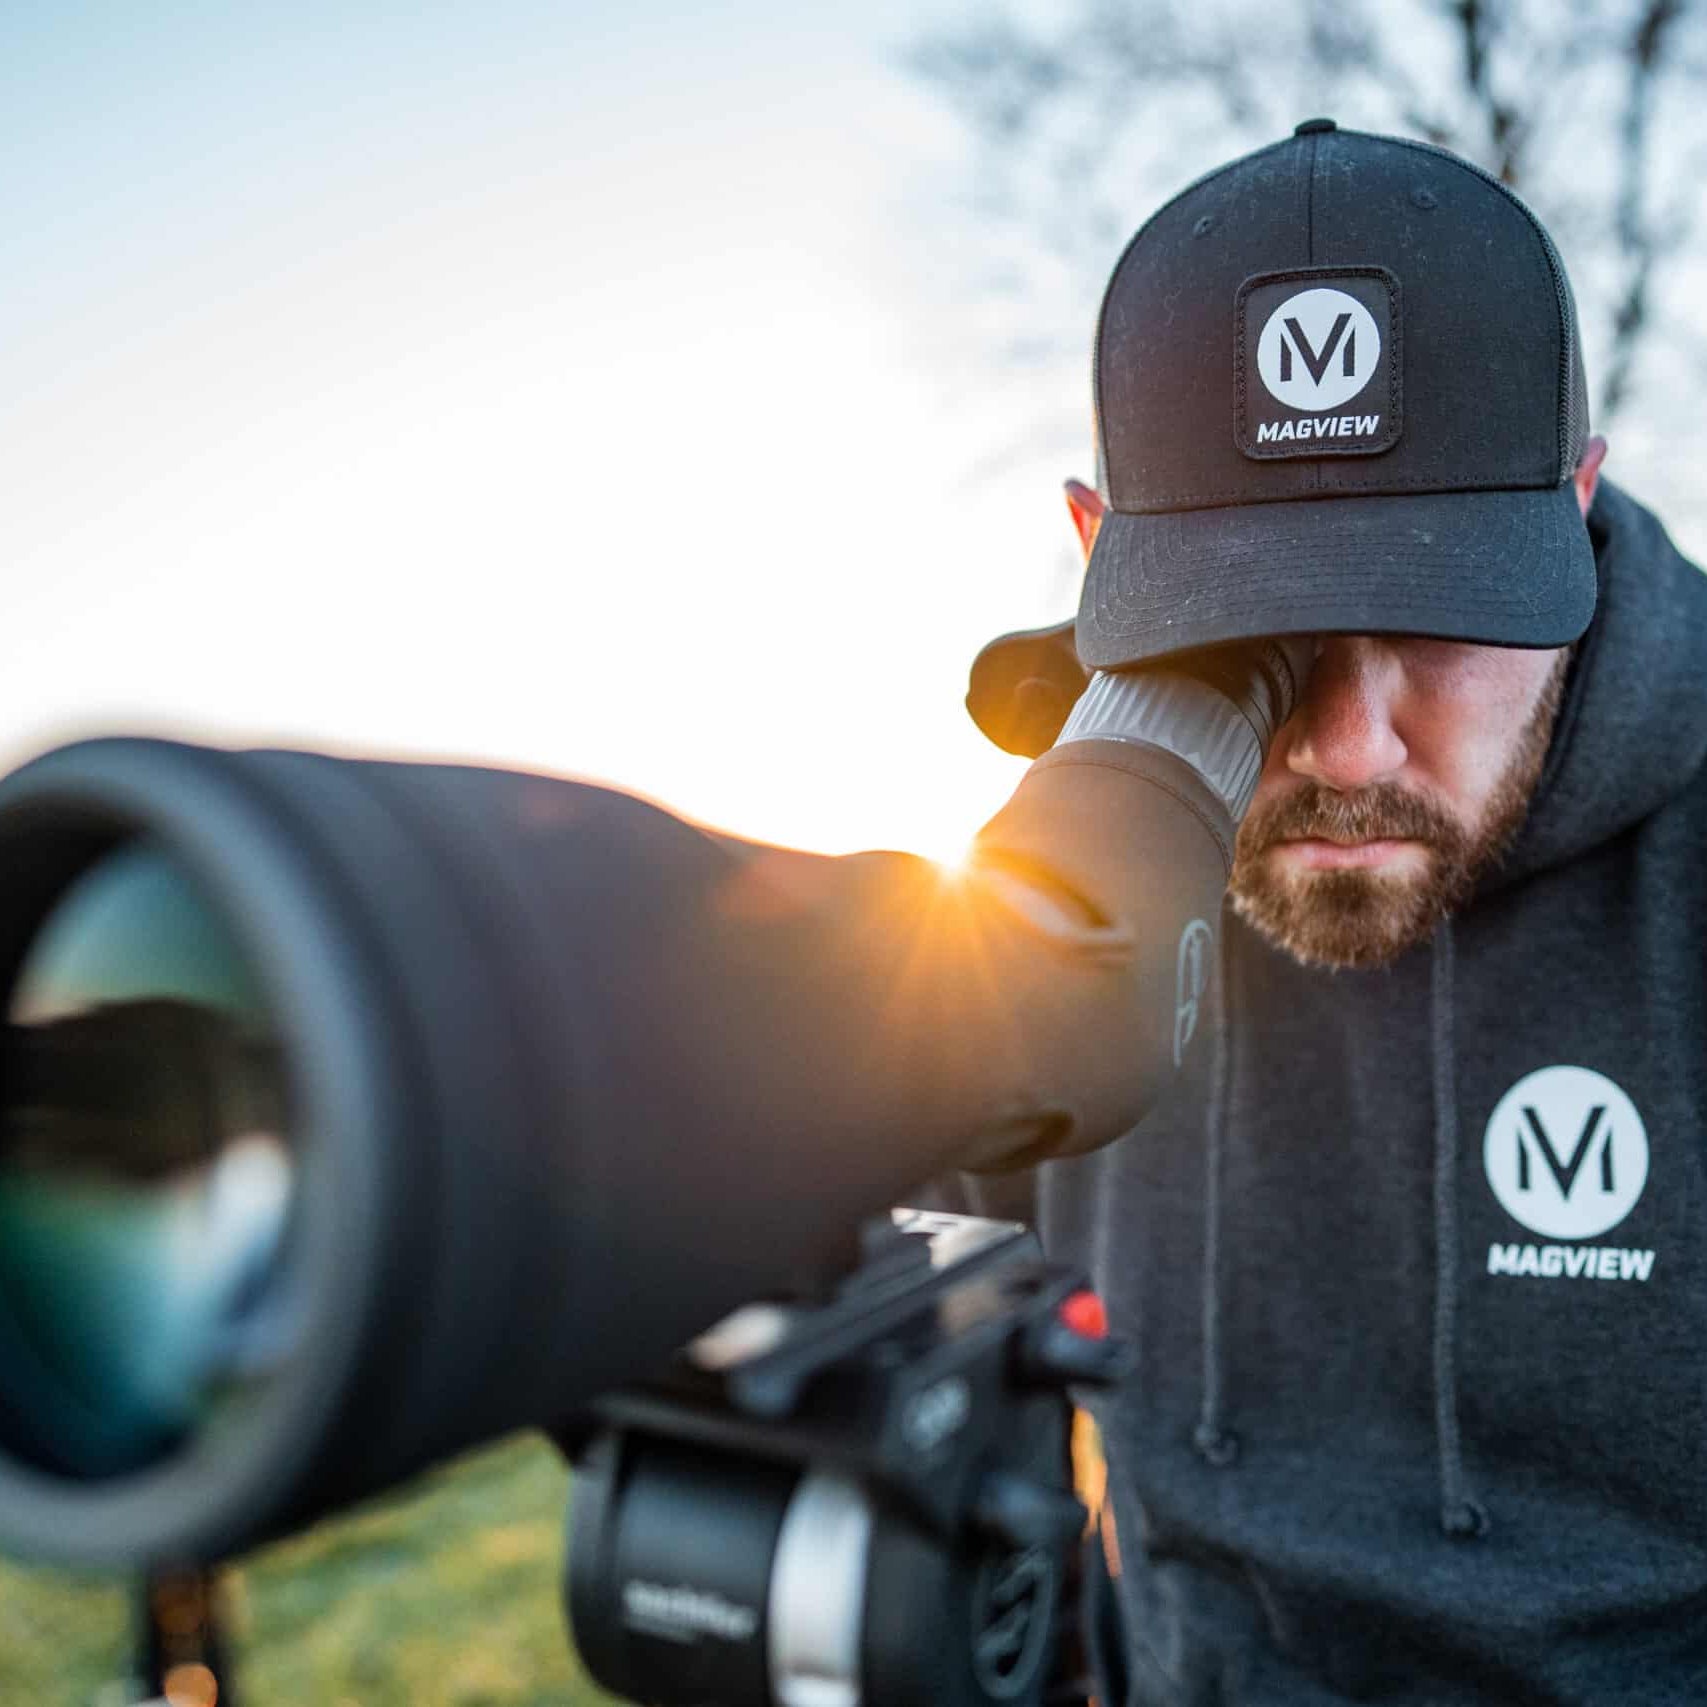
For spotting scopes, the MAGVIEW S1 provides a quick way to connect your phone to compatible spotting scopes and capture what you're seeing through the optic. It's particularly useful when you're working through large sections of terrain from a distant location and want to document an animal or specific feature for later reference.
For hunters who primarily use binoculars, the MAGVIEW B1 provides a similar solution for capturing images and video through compatible binoculars.
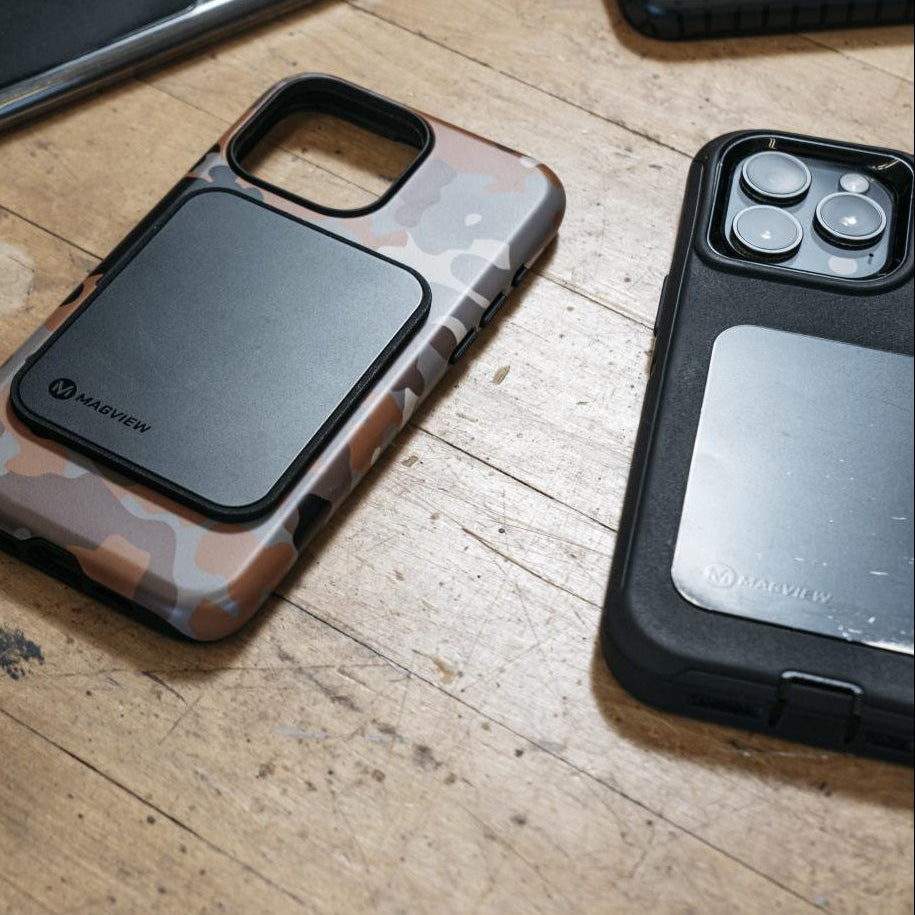
The MAGVIEW MagSafe® Compatible Phone Plate is another handy digiscoping accessory for hunters who want a streamlined way to connect their phone to compatible optics and quickly capture what they're seeing.
Put It All Together
Effective fall glassing is a combination of patience, observation and a systematic approach.
Start with the terrain. Look at how the land is shaped and how vegetation affects what you can actually see. Work tree lines carefully. Pay attention to small depressions and changes in elevation. Break large areas into manageable sections and use a consistent pattern so you know what you've already covered.
And when you find something worth remembering, capture it.
This fall, don't just look across the landscape, systematically search it.
