
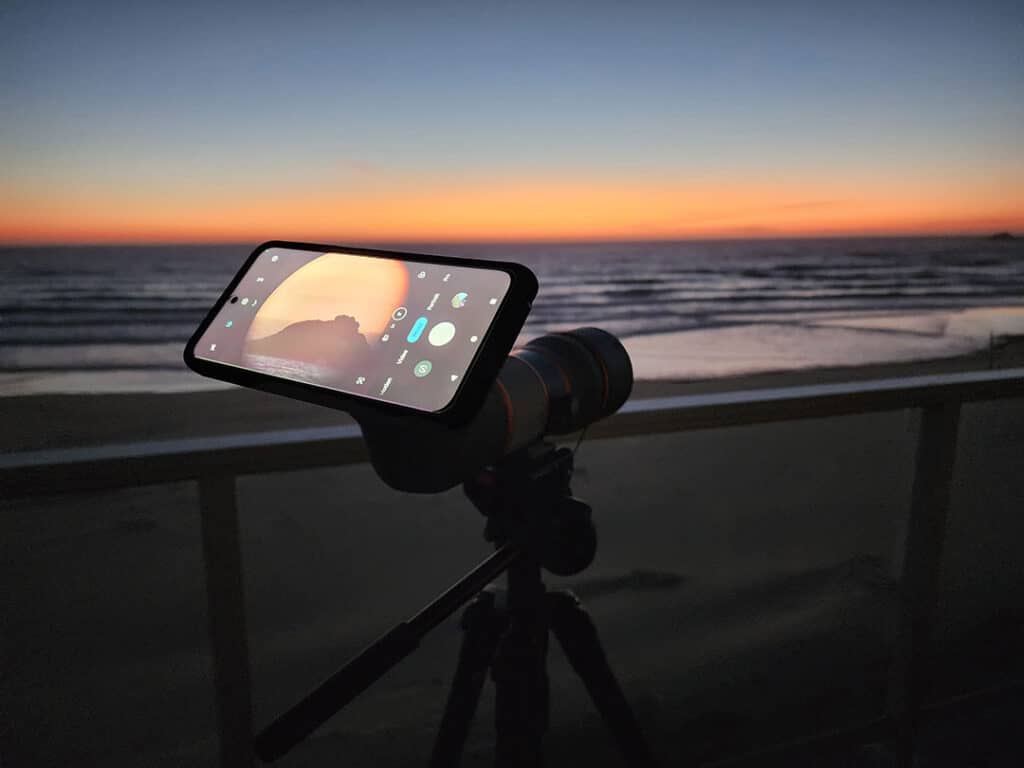
One of the main reasons many choose to use a digiscoping product is the ability to take photographs or video through their optics. Some users may experience the dreaded camera shake which can result in blurry or fuzzy photos. In this article we will address what camera shake is, equipment and technique tips that can help minimize this common issue to make sure you get the best results with your MAGVIEW® products.
What is camera shake?
Camera shake is exactly as the name implies, it is movement of a camera while you are attempting to take a photo. Unfortunately, any small amount of movement can lead to blurry pictures. For photos to be clear and focused, you need to minimize the amount of movement. When digiscoping, you must keep in mind that the image is being magnified, the more magnified the image is, the more you will notice shake. For instance if you are using a high powered spotting scope, it is critical for the whole apparatus to be as still as possible.
Tripod stability
The type of tripod has a massive overall effect on stability of the optics. The number of leg sections will typically affect the amount of possible movement within the leg. The more leg sections, the more connecters and the more movement. Also the diameter of the leg tubes play a role in overall stability and weight handling ability of the tripod. Tripods that have higher weight ratings tend to be more stable, and most of that is due to their ability to handle hanging or counter weight.
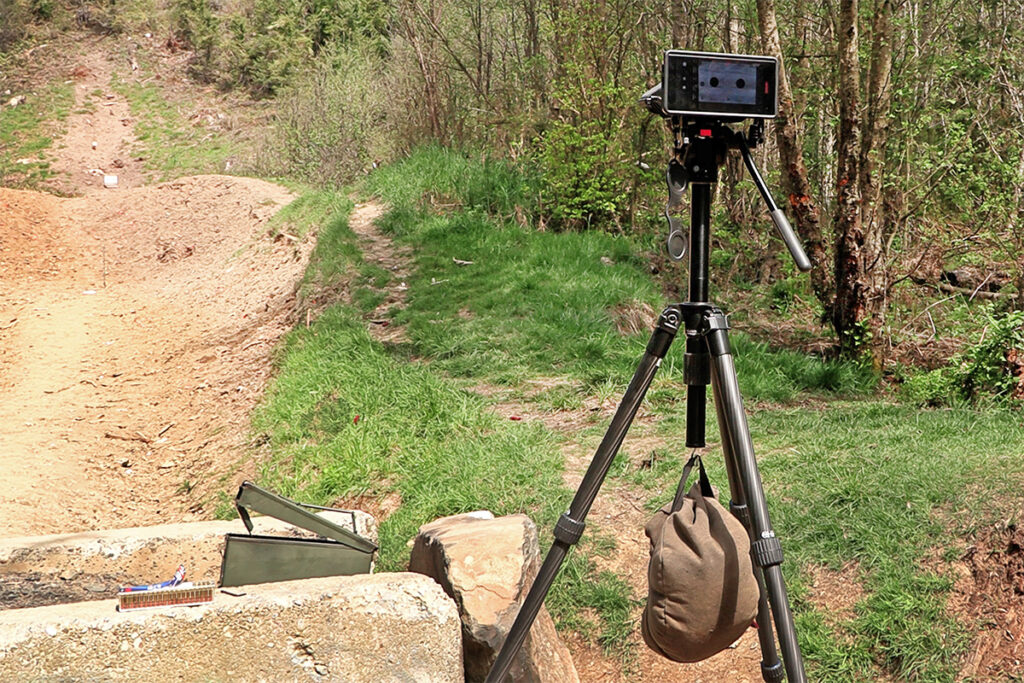
Ever wonder what that little hook or D ring at the end of the center tube of your tripod is for? That is for hanging a stabilizing weight. Adding a hanging weight to a tripod can greatly help stabilize your optics. If you have ever pushed down on a tripod and notice how the image stops shaking, this is essentially what the hanging weight does. Now the amount of weight you can hang on the tripod is going to depend on the weight rating. Look up the specs for your tripod, and be sure to include the weight of the optics or any other accessories when figuring out how much weight your setup can handle.
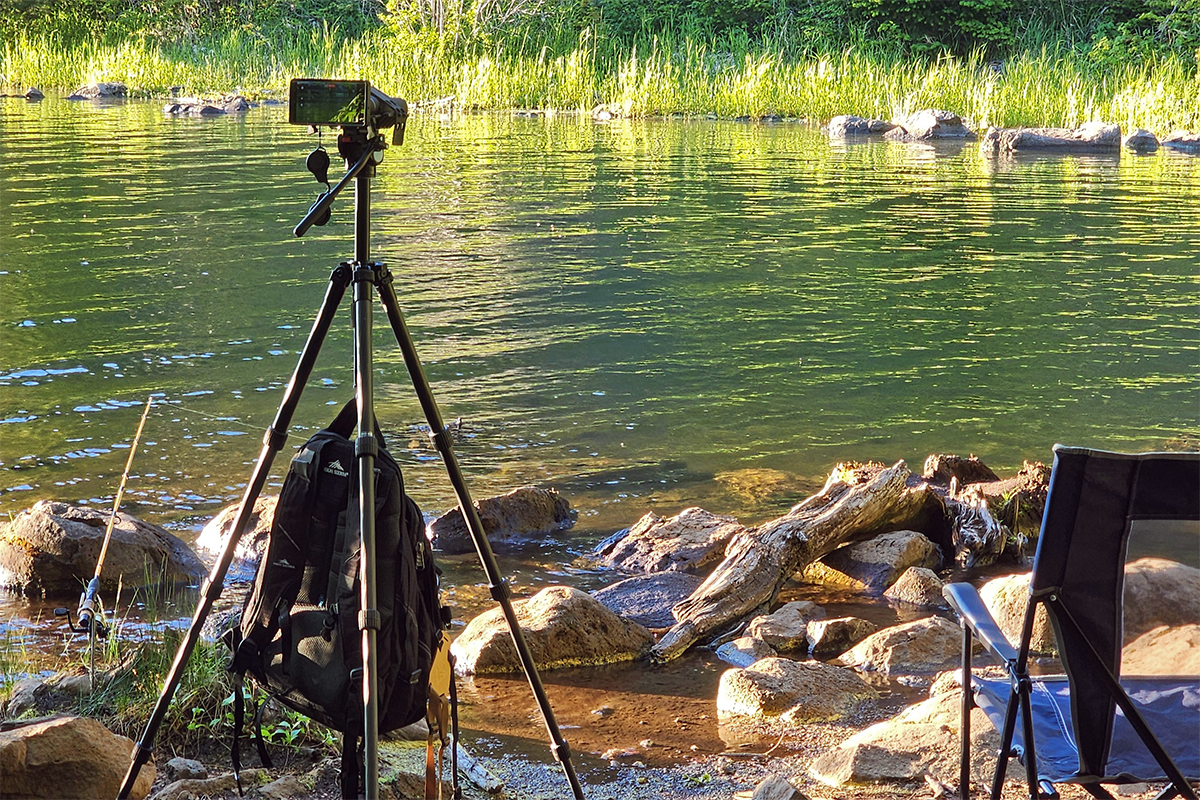
hanging weights can be easily found from online sources, or camera stores. If you are in a pinch or a minimalist that does not want to pack the additional weight, hanging a backpack from the hook will work well, as will a tripod bag if you fill it with something heavy like rocks. If your tripod does not have a hook, there are many aftermarket accessories that attach to the legs and provide a shelf or pouch made of fabric that you can place weight on.
Tripod setup
When setting up your tripod, try to lengthen the thicker sections of the tripod leg before the smaller sections for the most stability. The same thing goes for the center post if your tripod has one. A fully extended tripod is more stable than a shorter tripod with a fully extended center post. Another consideration for the center post is how far it is extended affects how well the hanging weight will work. If the center post is fully extended and the weight is hanging high on the tripod, it will be less stable than if the weight were hanging closer to the ground. Next adjust each leg length so the center column is level.
Don’t touch your phone
If you ever watch professional photographers taking highly magnified or very close up photos, you may see them using a handheld shutter. This is a small remote that allows you to operate the camera shutter without touching the camera or phone. There are many available for use with smartphones, just make sure it is compatible with your device. This is a handy piece of gear to ensure you are not the source of movement by touching the phone.
You could also set your phone to voice control if that is an option. Depending on the phone and operating system, there are several ways to enable voice control. This would allow you to control the camera by speaking. The major downside to this method is in situations where you are trying to remain silent, you will be talking to your phone to take photos. Some devices like iPhones can even use the headphone cord to take pictures. Whatever strategy you use, avoiding touching your phone when taking pictures can improve the quality of photos.
Use the MAGVIEW app
The MAGVIEW app has a few features to help in taking clear photos. It gives easy access to brightness control so you don’t have to go into camera settings to make adjustments. It also features a camera timer that is easy to use. The camera timer is another great way to prevent movement and blur. The MAGVIEW app is free and is available for Android and iPhone devices. Links for the Magview app can be found below.


Camera settings
We have all been there, you go to take a picture using your phone and realize whatever settings you had used the last time you took a picture are still in effect. It is important to keep this in mind when you are planning on using digiscoping products. It’s a good idea to double check your camera settings before venturing out. Phone camera settings can vary by make and model, if possible, test out any changes you make beforehand to ensure you are getting the best photo quality.
Now that you are armed with these tips and tricks, take to nature and capture your experience in stunning detail by using MAGVIEW digiscoping products. After you take your epic photos, be sure to head to the MAGVIEW Community page to share your content.
